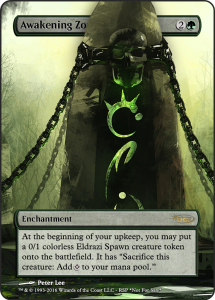
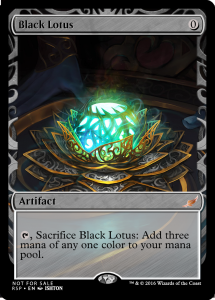
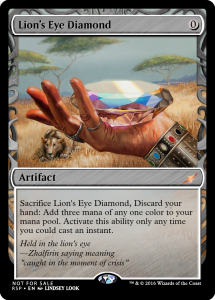
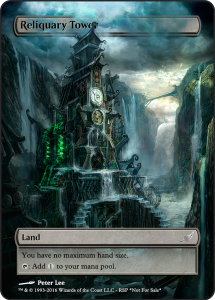
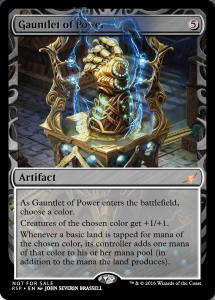
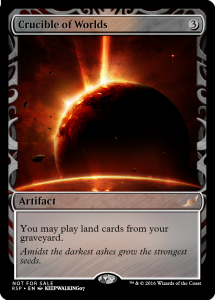
From time to time, I dabble in some photoshop work. The results are some fun, unique alters of existing Magic cards. Enjoy!
Author Archives: Tony
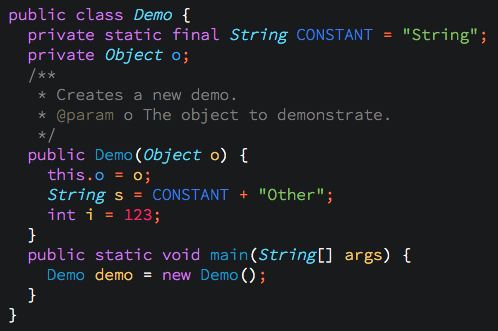
Dark theme with just a few colors to make variables and keywords pop.
I recently had an issue with a server hosted at OVH.com. One Saturday, it completely failed to boot and there was no SSH access. After a little pleading with OVH to fix the server(since I had no access) , I was flatly told “No” several times. This was a dedicated server and as such, I was responsible for all aspects of its software. “But your physical disks are failing to mount!” No help. Grrr, ok I can solve this.
Here’s the only problem, I don’t even know what the error is on boot! I can’t see any of the boot screen, so I don’t know where its failing.
OVH has a convenient feature know as Rescue Mode which allows you to boot to an alternative OS, so you can mount and correct any issues on the primary drive. Utilizing this feature I got access to the disks and RAID array. Everything seemed fine, but I ran through all the checks to be sure.
- Hard Disks – No errors
- Raid Array – Needed to be resynced, but does not fix boot
- FileSystem – OK
- Boot Logs – No help
- Partitions – Disks are out of order, but does not fix boot
At this point, I’m out of ideas, so I call OVH one more time and ask them to look at the boot screen and tell me where its stuck. They agree and tell me it boots to GRUB> prompt and stops. Ok, this is good information.
I log back into rescue and scour the internet for a way to fix this. The answer is found in an obscure ubuntu forum, which perfectly describes a way to reset the grub loader on each disk in the array, when utilizing a rescue mode.
$ sudo fdisk -l (From this you need to find the device name of your physical drive that won't boot, something like “/dev/sdxy″ - where x is the drive and y is the root partition. Since I was using a software RAID, root (/) was on md1)

$ sudo mount /dev/sdxy /mnt (Mount the root partition)

$ sudo mount --bind /dev /mnt/dev

$ sudo mount --bind /proc /mnt/proc

$ sudo mount --bind /sys /mnt/sys

$ sudo chroot /mnt  (This will change the root of executables to your your drive that won't boot)

$ grub-mkconfig -o /boot/grub/grub.cfg (insure that there are NO error messages)

$ grub-install /dev/sdx (NOTE that this is the drive and not the partition. try grub-install --recheck /dev/sdxy if it fails)

Ctrl+D (to exit out of chroot)

$ sudo umount /mnt/dev

$ sudo umount /mnt/proc

$ sudo umount /mnt/sys

$ sudo umount /mnt
Reboot!
Hopefully this will save someone some agony in the future and give you a few hours of your life back.
He who embraces his fears and moves in any direction, will learn from his mistakes and move forward. He who simply acknowledges his fears, will never succeed or fail. Rather he will be left standing still, straining in vain for peace.
– Tony C
The Dalai Lama, when asked what surprised him most about humanity, answered:
“Man…. Because he sacrifices his health in order to make money.
Then he sacrifices money to recuperate his health.
And then he is so anxious about the future that he does not enjoy the present.
The result being that he does not live in the present or the future; he lives as if he is never going to die, and then dies having never really lived.”
Here is a visual database for images built with ReactJS. It was about 10 hours of dev time.
The base layer for building this was react-starter.
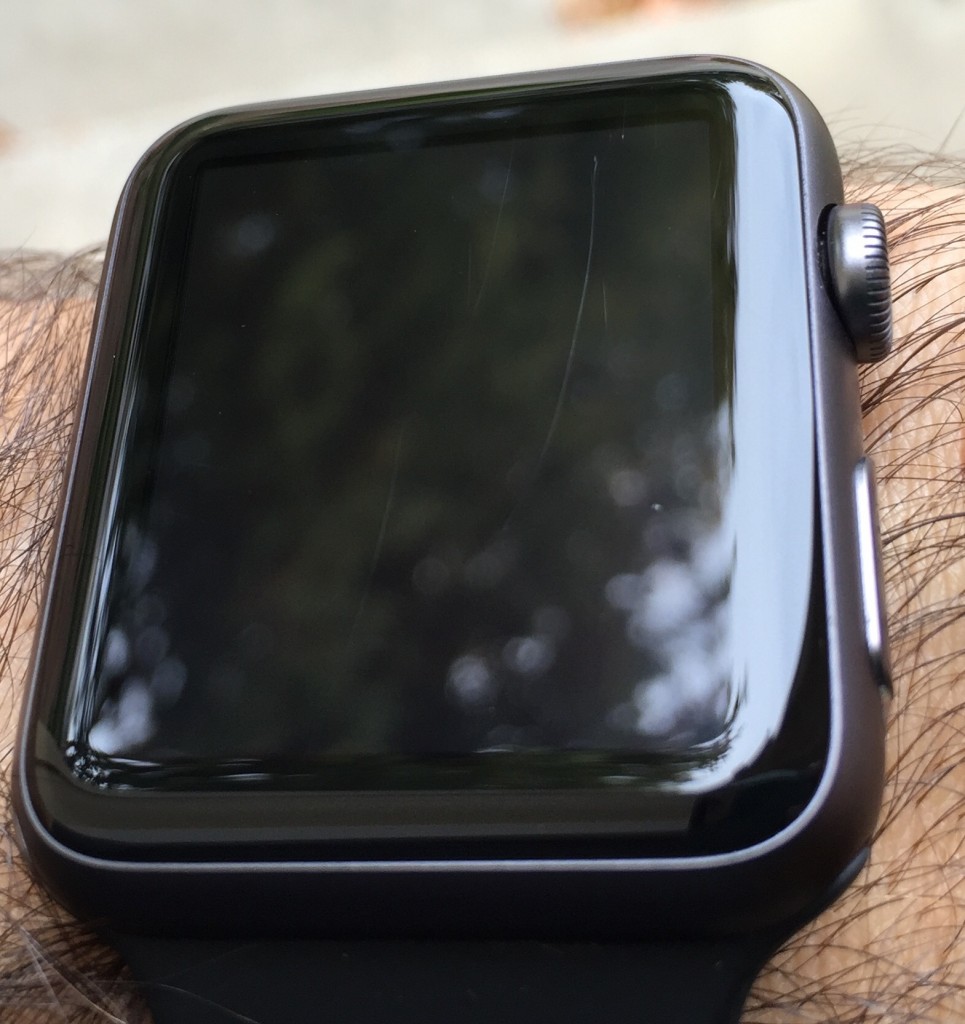
I had been wearing a demo Apple Watch Sport for a few days, when I noticed a few scratches on the screen. Damn, I thought. It had only been a few days and I hadn’t bumped or scraped it on anything significant. In addition, I had been cleaning it with a microfiber cloth, so I was sure it hadn’t been from that. But it was still odd considering how long I’ve had an iPhone 6 with no cover and 0 scratches. So I did a little digging.
Sure enough there are a few threads on Apple’s own website detailing how common, everyday usage is resulting in scratches. Disappointing, but maybe people are simply being careless. However, for some non-transparent reason Apple has also quietly updated their product text removing all mention of being scratch resistant.
Rolling back 2 weeks on Apple’s own product page for the watch, we see the following text. Notice the phrase, “especially resistant to scratches and impact.”
But if you look at the current version of the product page, you’ll see this text.
Apple removed front page, product messaging referencing its watch being scratch proof.
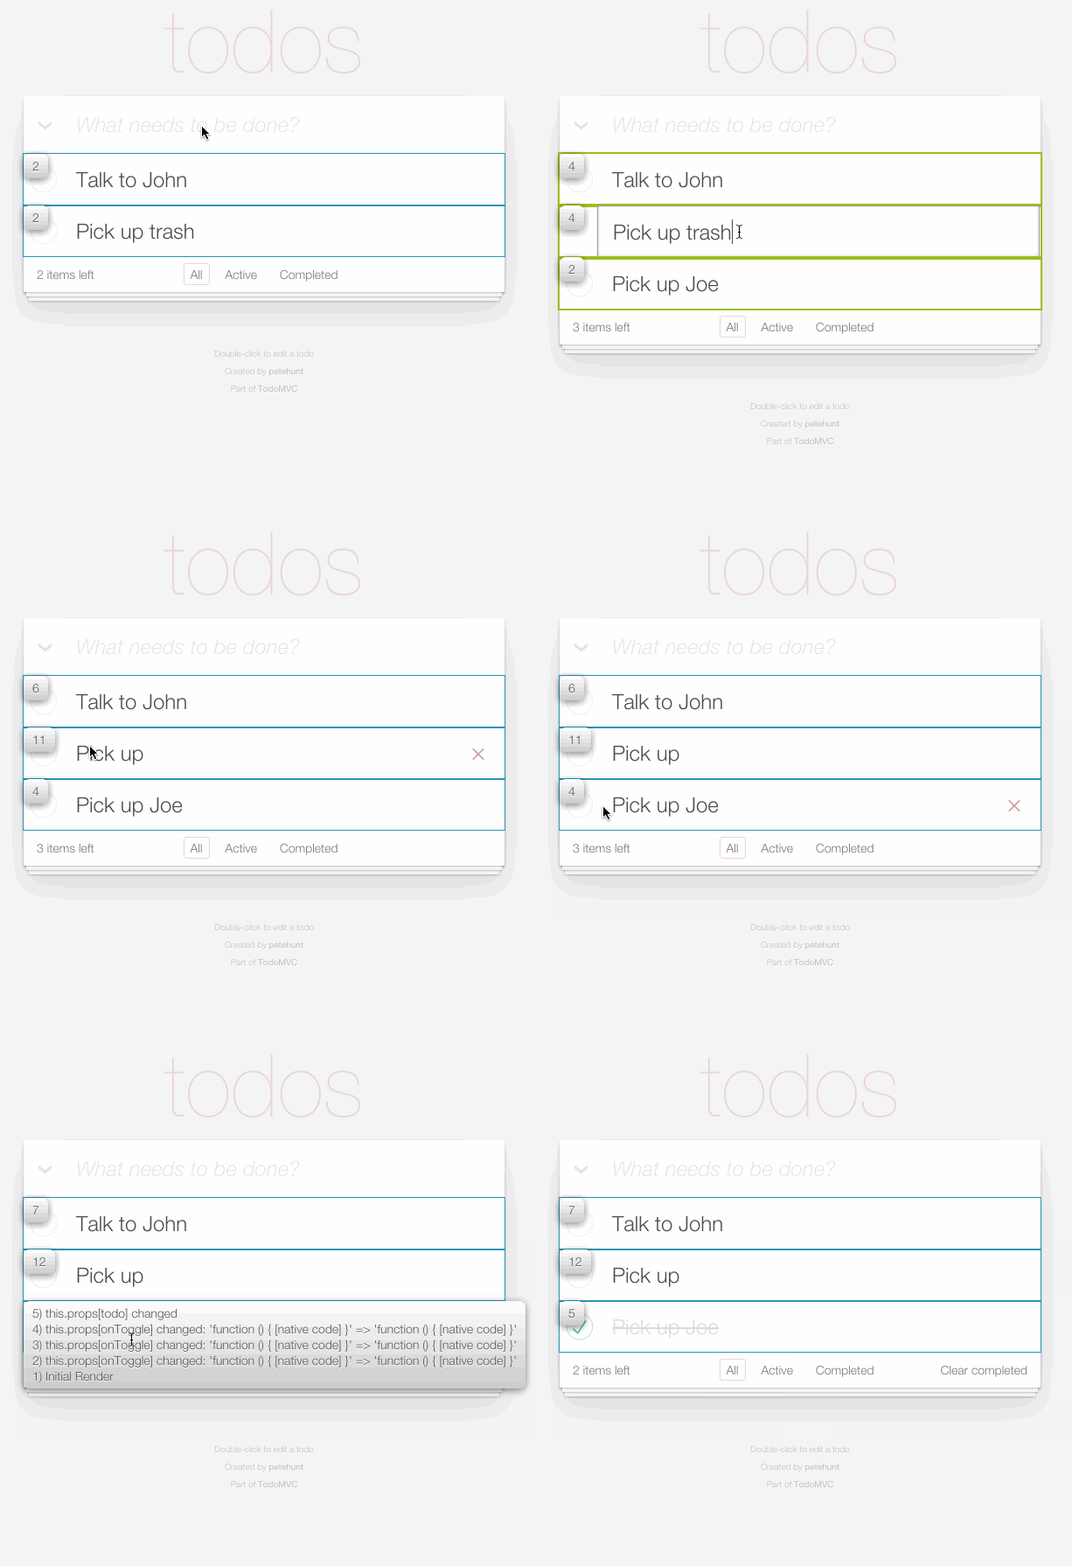
Here’s my recent talk entitled “Chasing 60fps, Using ReactJs to Rebuild Netflix.com.” We discuss both the advantages and challenges of building with ReactJS for the new Netflix UI.
Links from the talk
react-render-visualizer
TimeoutTransitionGroup Mod
ESLint Plugins http://tiny.cc/nflx-eslint1 http://tiny.cc/nflx-eslint2
I recently need to set up caching for a very slow API service I was working with. However the app I was working with forced a query param of “timestamp” on all requests. This effectively killed the cache because all api requests were flowing through a single endpoint, and only the query params differentiated the requests. So here’s how to set up caching and strip out query params with nginx.
http {
# Create a storage location for
# caching and call this location "my-app"
proxy_cache_path /data/nginx/cache levels=1:2
keys_zone=global:10m
max_size=100m inactive=60m;
server {
location /api/ {
# Strip out query param "timestamp"
if ($args ~ (.*)×tamp=[^&]*(.*)) {
set $args $1$2;
}
# Use the "my-app" cache defined above
proxy_cache my-app;
# Only cache 200 responses and cache for 20mins
proxy_cache_valid 200 20m;
# Create a unique cache key
proxy_cache_key
"$scheme$request_method$host$uri$is_args$args";
# Proxy the request
proxy_pass http://myapi.com;
}
}

